
Answer
Jul 30, 2025 - 04:17 PM
Step-by-Step Instructions:
Align Your License Plate Frame:
Position the frame over your license plate, aligning the holes with your vehicle’s xxxx holes.
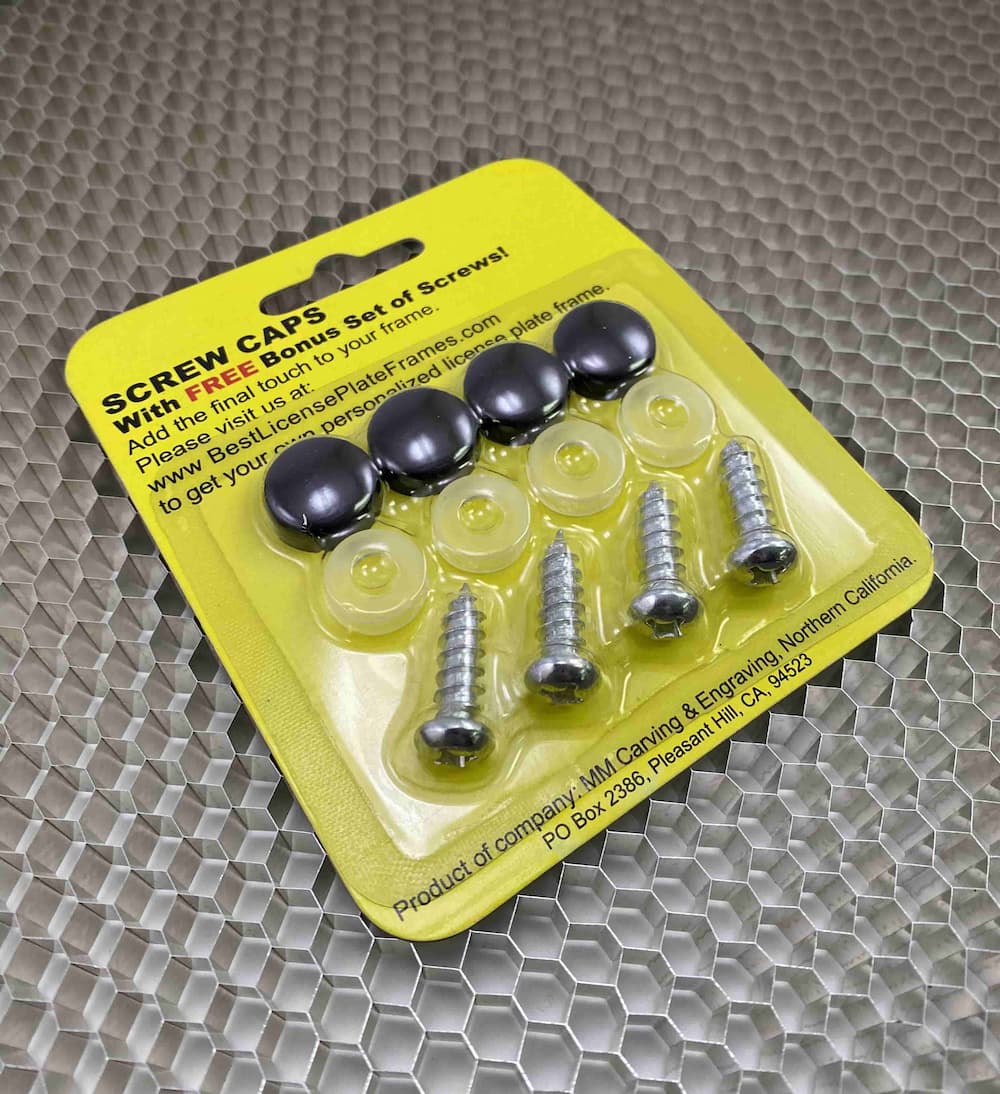
Insert Screws with Bases:
Place the base washer (the part that the cap will snap onto) over each hole.
Insert the xxxx through the base and tighten it with a screwdriver until the frame is securely attached.
Important: Do not overtighten, as this may damage the base or your vehicle’s license plate area.
Snap On the Caps:
Take a xxxx cap and align it directly over the installed base.
Press firmly until you hear or feel a “snap.” This indicates the cap is locked in place.
Repeat for the remaining caps.
Check for Security:
Gently press on each cap to ensure it’s securely attached and doesn’t come off easily.
Tip: If you ever need to remove the caps, gently pry them off with a flathead screwdriver or plastic trim tool to avoid scratching.


